How to Add AI Virtual Try-On to Your Shopify Store
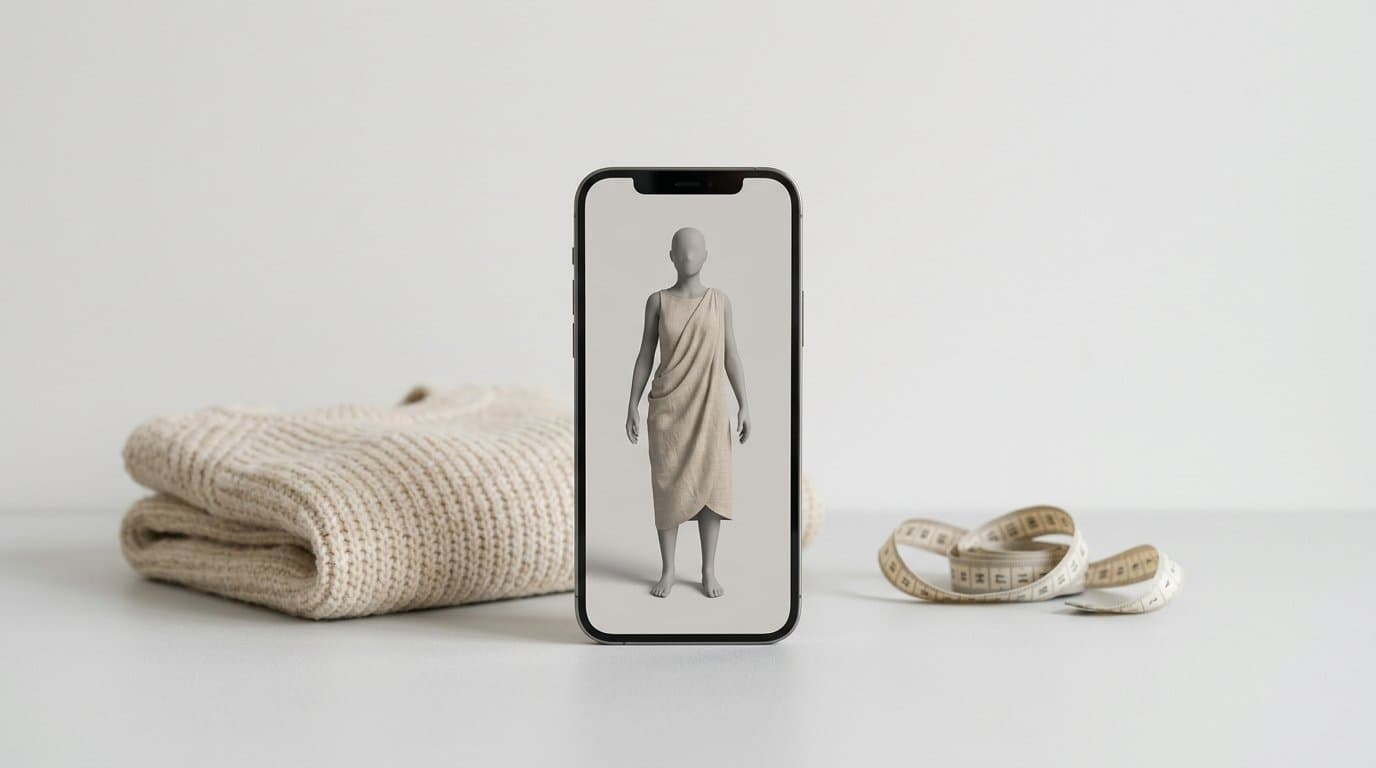
Why Fashion Stores Are Adding Virtual Try-On
Every apparel shopper asks the same two questions before buying online: will this look good on me, and which size should I order? Your product photos can answer the first one reasonably well. The second one they can't answer at all.
That's where most of the cost sits. McKinsey's research on apparel returns found a 25 percent return rate for apparel sold online, compared with 20 percent across e-commerce overall, and 70 percent of those returns were caused by poor fit or style (McKinsey). A Google and Ipsos survey of US clothing shoppers found that 59 percent had been dissatisfied with an item bought online because it looked different on them than expected (Google).
Virtual try-on moves that moment of truth from the fitting room at home to the product page. Done well, it gives shoppers enough confidence to pick one size instead of ordering two and sending one back.
This guide uses OptiDress as the main example, because it's the app we recommend for Shopify fashion brands that care about fit, not just looks. The same decisions apply to any try-on app you evaluate.
Pick the Right Kind of Try-On First
"Virtual try-on" covers three quite different technologies, and choosing the wrong one is the most common mistake we see.
- Photo-based AI try-on asks the shopper to upload a picture of themselves, then generates an image of them wearing the garment. It's visually impressive, but it shows the look rather than the fit, and a lot of shoppers simply won't upload a full-body photo to a store they've just discovered.
- Live AR try-on uses the phone camera in real time. It works brilliantly for glasses, jewelry, watches, and makeup, and much less well for how a jacket drapes or where a hem falls.
- 3D avatar try-on from body measurements builds a model of the shopper from their height, weight, and body shape. There's no photo involved, and because the avatar is built from measurements, the app can recommend a size and describe how each garment will fit.
For clothing, the third approach answers the question that actually drives returns. That's the approach OptiDress takes.
What OptiDress Does
OptiDress adds a virtual fitting room and size recommendation directly to your Shopify product pages. The shopper flow is short:
- Create an avatar. The shopper enters height, weight, and body type, with the option to add exact measurements. A 3D avatar is generated in seconds, with no selfie, body photo, or account required.
- Try on the garment. They drag your garment onto their avatar and see how it sits on their own body.
- Buy the right size. The recommendation shows up in the product page's size selector, with each size labeled as running small, recommended, running big, or too big.
On paid plans, the avatar is saved for 30 days, so a shopper who comes back next week, or browses ten products in one session, doesn't have to start over. Because there's no photo upload and no biometric data stored, the privacy conversation is also much simpler than with photo-based tools. OptiDress states that measurements are never resold or shared with third parties, in line with GDPR.
On the merchant side, a dashboard in your Shopify admin shows try-on activity, your most-tried garments by size, and conversion rate and average basket for shoppers who used OptiDress compared with those who didn't. That comparison is what lets you judge whether it's working, which we'll come back to.
Before You Install: What You'll Need
A little preparation makes the difference between a try-on that shoppers trust and one they ignore.
- An Online Store 2.0 theme. OptiDress installs as a theme app extension, which requires a 2.0 theme. Most current Shopify themes qualify; if you're on an older vintage theme, check this first.
- Accurate garment data. OptiDress works from your existing product visuals and your garments' real data: measurements, fabrics, and cuts. The size recommendation can only be as good as that data, so make sure your size charts reflect the actual finished garment, not a generic brand-wide chart.
- A shortlist of products to start with. Pick the items where fit questions are most common: your highest-return products, fitted styles like jeans and tailored jackets, and best-sellers with lots of traffic.
- Solid product photos. Shoppers still judge the garment from its main images before they open the try-on, so every product should have clear on-model and detail shots.
How to Set Up OptiDress on Shopify
Setup doesn't require touching code, and OptiDress doesn't modify any of your theme files.
- Install the app. Find OptiDress on the Shopify App Store and install it. Authentication happens through your Shopify account, so there's no separate signup.
- Choose a plan. The free plan includes 10 try-ons per month, which is enough to test the full experience yourself. Paid plans start at $24.99/month for 150 try-ons, with Growth at $149/month for 750 and Scale at $499/month for 2,500, all billed through your Shopify invoice. Paid plans also keep avatars for 30 days and let you customize colors, text, icons, and CSS.
- Add your garment data. Make sure each product you're launching has complete, accurate measurements. If your size data lives outside Shopify or you're unsure what format works best, contact the OptiDress team before launch.
- Add the OptiDress block to your product template. In your Shopify admin, go to Online Store, then Themes, then Customize. Open the product template and add the OptiDress app block. The try-on is live as soon as the block is placed.
- Match it to your brand. On a paid plan, adjust colors, button text, and icons so the widget looks like part of your store rather than a third-party add-on.
- Test it as a shopper. Create an avatar on your phone, try on products in a few different sizes, and check that the recommendation lines up with what your fit team would advise. Do this on mobile first, since that's where many shoppers will meet it.
Place the Try-On Where the Size Decision Happens
Placement matters more than most merchants expect. A try-on button buried below the description or in a tab gets very little use.
Put the OptiDress block right next to the size selector, where the shopper is already hesitating. A clear label like "Find my size" or "Try it on" tends to work better than a generic "Virtual try-on" because it describes the benefit rather than the technology.
It's also worth mentioning the feature in places shoppers see before they reach the product page: a short line in your size guide, your returns policy page, or a welcome email. Shoppers who already know they can check their size are more likely to use it.
Measure Whether It's Working
Try-on is a conversion and returns tool, so judge it on those numbers rather than on how many people clicked the button.
- Conversion rate with and without try-on. The OptiDress dashboard compares conversion and average basket for shoppers who used it against those who didn't. Keep in mind that shoppers who engage with try-on are often more motivated to begin with, so look at the trend over several weeks rather than one spike.
- Return rate on try-on products. Compare returns for the products where you launched try-on against the same products in the months before, and against similar products without it.
- Return reasons. If your returns app collects reasons, watch "too small" and "too big" specifically. That's the category a size recommendation should move.
- Size bracketing. Track how often customers order the same item in two sizes. Fewer multi-size orders is a strong sign shoppers trust the recommendation.
Give it at least a full month of traffic on your pilot products before drawing conclusions, then expand to the rest of your catalog in batches.
Common Mistakes to Avoid
- Launching on your entire catalog on day one. Start with the products where fit problems cost you the most, get the data right, then expand.
- Using generic size charts. If your garment measurements are rough, the recommendation will be too, and one bad recommendation can cost more trust than having none.
- Hiding the widget. If shoppers have to hunt for it, they won't use it.
- Forgetting about photos. Try-on answers fit. Your images still have to sell the product in the first place.
A Quick Launch Checklist
Before you promote virtual try-on to your customers, confirm that:
- Your theme is Online Store 2.0 and the OptiDress block sits next to the size selector.
- Your pilot products have accurate, garment-specific measurements.
- You've tested the full flow on mobile and desktop, in more than one size.
- The widget's colors and wording match your brand.
- You've recorded baseline conversion and return rates for your pilot products.
- Your size guide and returns page mention the new fit tool.
Virtual try-on isn't magic, and it won't fix a product that runs inconsistently from batch to batch. But for fashion stores, where fit is the single biggest reason items come back, giving shoppers a reliable size answer on the product page is one of the most direct levers you have. Start with OptiDress on a handful of your most-returned products, measure the results, and scale from there.
Comparing options first? See our roundup of the best Shopify apps for AI virtual try-on. And if your product pages need better on-model photos to go with the try-on, Modelize generates them in bulk directly inside Shopify.
More in Shopify Growth
View all
How to Adapt Your DTC Product Photos for Shopify B2B Channels Using AI
With Shopify rapidly expanding its B2B capabilities, consumer brands are opening wholesale portals. Learn how to use AI to instantly transform your DTC product photos into bulk, retail-ready B2B imagery.
How AI Product Photos Protect Shopify Dropshippers from Reverse Image Search
Stop losing sales to AliExpress and Temu. Learn how transforming generic supplier images with AI photography breaks the reverse-search trail and protects your store's margins.
How to Handle Shopify Subscriptions with Kaching
Learn how to set up, launch, and improve Shopify subscriptions with Kaching, from defining plans and testing checkout to managing customers and measuring retention.
Generate Stunning Product Photos with AI
Modelize is a Shopify app that creates professional product images in seconds - AI models, backgrounds, and more. No photoshoot needed.